Showing posts with label Writing Workshop. Show all posts

Monday, 22 May 2017

Digital Bytes 22nd May 2017


Flipgrid

Flipgrid is an easy to use video reflection tool.

As a teacher, you can post a prompt and your students can respond with a video reflection. Here is an example from Grade 4 teacher, ADE and Flipgrid Ambassador, Andy McGovern.

As always, remind your students to use headphones for the best quality recording.

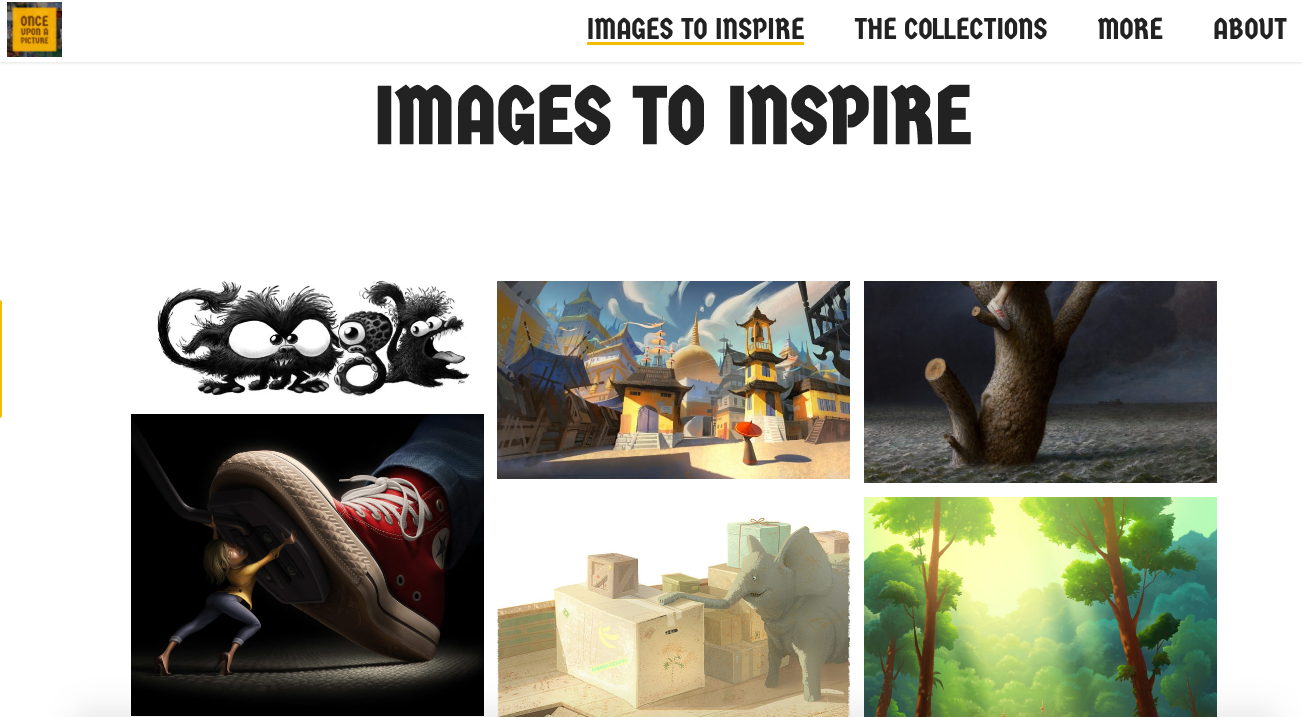
Images to Inspire

We know images have the power to spark creative thinking, but we seldom make the most of this fact when providing writing stimuli for students. Thankfully, this website has you covered! You can view by collection (e.g. Inference collection) or by latest image. All images are shared with permission by the original artist, which is great to model for your students.


Quick Draw

Quickdraw is a project from Google which is using Artificial Intelligence (AI) to recognize drawings.

You can help and have some fun along the way by adding to the world largest doodling data set. It is a quick timed activity so you only have 20 seconds to create each drawing and Google is trying to guess what you are drawing the whole time.

After you have tried 6 drawings, you can see what other people drew in response to the same prompt you had.

Monday, 15 February 2016

Digital Bytes - 15th February, 2016


9 Great Tips for Safari on Your iPad

Whether it is your own iPad or the iPads that your students are using, everyone can find some useful tips in this article for using Safari. Some of my favourites are being able to find words on a page easily, quickly viewing recent pages and requesting the desktop site.


Why Self Publishing May be the Best Writing Lesson Ever

This is the story of a teacher named Brian South who started on the path of self-publishing for his own novel. His students helped with comments and suggestions and he has taken what he learned from that experience into the classroom with his students.


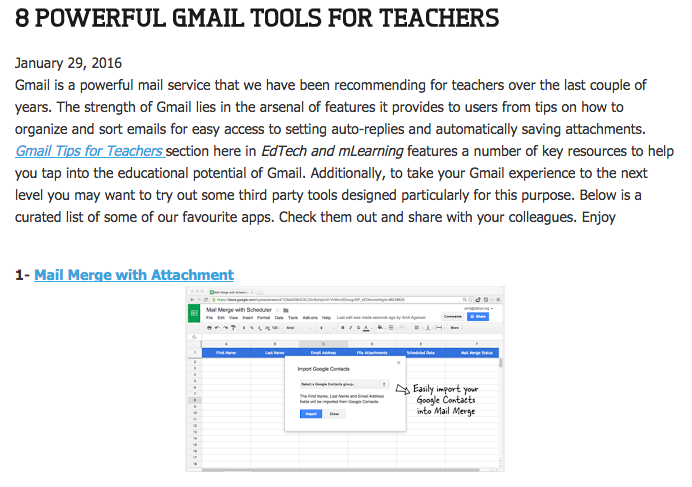
8 Powerful Gmail Tools for Teachers

Gmail is one of the tools that we all use every single day. Why not make your life easier by taking a look at some of these tools for teachers?

Monday, 21 September 2015

Digital Bytes - September 21, 2015

This week's digital bytes includes articles about a free ebook on capturing digital stories, 11 quotes by famous writers and accompanying writing lessons, and using technology to help students read faster and with better comprehension.


Monday, 23 February 2015

Digital Bytes February 23, 2015

This week's focus is on reading and writing, including articles about enriching students' creative writing skills with photography and using games like Mincraft to help your child with their reading. There is also a quick tutorial to help you learn how to delete those pesky untitled posts in your Google Site.


Monday, 8 December 2014

Capturing sound in student thinking and learning

One of the aspects of student learning and thinking that we are trying to capture at United World College is students' thoughts during their partner conversations. We know that a way that students learn best is by talking about their thinking with a partner or group.

As digital literacy coaches, we have been trying to find ways to capture this thinking. An easy way would be to use an iPad or a computer to record the partners talking.

However, when we tried this, we discovered that the sound was terrible. In many cases, we had to ask the students to speak very loudly and have everyone else in the class not make sound. This worked, but wasn't a very authentic and easy way to capture these conversations. Some teachers tried pulling students out of the classroom to a quiet place and recording the conversations there. Again, not something that is easy or that sustainable.

We wanted a solution that worked in the classroom, when all the students were talking and was easy to set up. We decided to try out a few different headphones with built in microphones. Why headphones? Headphones are commonplace in the classroom and we don't want to purchase any special equipment if we don't have to.

We tested microphones that have one plug for audio in and audio out and that worked with the iPads and with the MacBooks. Why these particular headphones? These headphones were given to us to try by our good friend Doug Taylor who is a teacher and app developer.


Headphones #1-3 are over ear headphones and headphone #4 is the in ear Apple headphones with a microphone.

The test was simple. I set up a computer and an iPad to record a conversation between two students. The other students in the class were also having conversations in the background. I started with the computer and quickly rotated the headphones through to try to get as fair a test as possible. Then I recorded on the iPad and, once again, rotated through the microphones as quickly as possible. For each of the test, I moved the headphones as close to the girls talking as possible.

Have a look at the results for yourself.


I noticed a few things. First and most importantly, it didn't matter which headphones I used, they were much better than the sound recorded from either the iPad or the computer without a headphone attached.

I also noticed that the sound recorded by the macbook seemes louder than that from the iPad.

If I have to pick the ones that I felt were the best, I feel that headphones number 3 and the Apple headphones (#4) gave the best sound. In terms of cost, we can get headphone #3 for less than $15 and the Apple ones are more than twice that cost.

So in conclusion, if you want to record the sound of partner conversations in a noisy room, get some headphones and you will hear a big difference.

Wednesday, 18 June 2014

Writing a Real Book Makes a Difference to Students

I have been lucky enough to work with our Grade 3s in the publishing phase of their informational book writing process. What an adventure!

Steve Kay (the Digital Literacy mentor) and I both hoped the team might consider creating digital books with iBooks Author, and were thrilled when all 7 classes got on board.

We set up a time to take all the teachers through some of the features, and they practised creating their own book, complete with sourcing Creative Commons images, and experimenting with widgets. This step was crucial, as it meant we had a real partnership when introducing iBooks Author to the students.

One of our aims was to help students make connections between the functions available on Pages and those on iBooks Author. We began by getting students in pairs (and later, groups) to identify the similarities and differences between the two programmes. This encouraged them to explore the menus and try different features before getting started. We shared these as a class.

Prior to this, with their class teacher, the students studied non-fiction informational texts and noted the features common in the genre, such as labelled diagrams, images and tables. They chose something they knew very well to write about. There was a diverse range of subjects selected - from Christianity to Minecraft - and everything in between!

Students wrote their drafts in a Google Docs template provided by their teacher. It was peer edited using the commenting function. Words to be included in the glossary were made bold, and images they thought they might look for were identified in a different colour on the side (see example below).


Once the text was ready, it was time to transfer it to iBooks Author, and add the features the students felt would help convey an understanding of their topic to their reader.

Students used Creative Commons Search to look for images to use in their books. Referencing the majority of these images was made extremely easy due to the use of Cogdog's Flickr CC image bookmarklet (drag the blue button to your bookmarks bar and click to attribute from Flickr).

Building on our work with the design principles of CARP (Contrast, Alignment, Repetition & Proximity), students worked carefully to make sure their choice of colours fit their content, was easy to read, chose a font which matched their content, and considered the alignment of their text boxes etc. They were very mindful and deliberate in their choices.

One of the excellent features in iBooks Author for informational books is the interactive image widget. It allows you to zoom into parts of an image, and provide more details. Labelling the parts of a flower, then zooming in to each part and getting more information is one example of how this can work. This was very popular with the students.

In addition, some students chose to add 3D images, which they sourced from Sketchup's 3D warehouse. The ability to get just about any 3D image (from Touch Rugby pitches to the latest Lamborghini) made this a popular option!

A Dad correctly guesses a review question
Many pupils used the review tool to create interactive quizzes to check for understanding of their content. Being able to use images and labeling diagrams in the reviews as well as typical multi-choice questions meant there was a lot of variety.

Students added glossary terms they identified in their draft writing, and it was lovely to see their definitions written in their own words.

Some chose to record their blurb as their intro media to the book, while others decided to create keynote files to add.

Once finished, students exported their finished books as .ibooks files, and uploaded them to Google Drive. This allowed for easy transfer to the iPads.

I loved watching their faces as they opened their books for the first time.

When reflecting on the process, the students I spoke to were unanimous about their enthusiasm for using iBooks Author as the platform for writing their book. They were able to articulate many reasons for this, however, one student summed it up nicely by saying:

"Google Docs is good for drafting, Pages is good for posters, but iBooks Author is best for books, because we're supposed to be writing a book! This feels like a REAL book, but better, because we can add all the extra features for interactivity."

A celebration followed, where students showed their completed books to their very impressed parents. The final piece in the puzzle is our growing list of published authors on the Write Now bookstore. Follow this link for examples of our published books. More will be added as they come to hand.

A huge thank you to the tireless Grade 3 teachers for all you have done in getting students to this stage.

Photography by Dave Caleb

Tuesday, 27 May 2014

Design for Informational Writing

Recently, I worked with the Grade 4 team to help them present their informational writing.

The students had all chosen a non-fiction topic to write about and done some research. They had then gone through the writing process and created a piece of writing. We wanted to help them to take their writing and display it in a way that was clear and interesting for the reader.

Working with the Grade 4 tech mentor, Haidee Betts, we started with a mentor text about bulldogs that the students had used for this unit. It had one small picture and a chart, but it was far from appealing to the reader.


I then took all the words from the text and put them into an A3 Pages document in separate text boxes. I found some Creative Commons images of bulldogs and used Preview to select the part of the image that I wanted to put into my document.  


Once I had a number of pictures and the text in the document all placed when I wanted them, I decided to try to make a few tweaks to the document. But I didn't want to change my original document, so I made sure that the page thumbnails were visible by clicking on the view button on the top left of my Pages document, and selected Page Thumbnails. I then selected the first page and selected Edit > Duplicate or the keyboard shortcut, Command (⌘) D. 

This is a crucial stage in the process for the students. Now they have the chance to try out some different things with the layout and design of their page and still have the ability to go back easily to their original layout. Most importantly, they can continue to duplicate their pages and this is a great record of their learning

To support the teachers and students, I decided to make a number of tutorial videos to help explain some skills that might be used when creating this type of document in Pages. I put these tutorials on the school Vimeo channel and arranged them into a portfolio.


http://vimeopro.com/uwcsea/pages-tutorials

In one of the videos in the portfolio set, I talk through my design thinking in relation to the bulldog article. This is one of the skills that students need to continue to practice and work on in everything they do. We can't have one unit during the year on design and never talk about it again. We must cultivate the skill of design in our students in whatever they are doing. This goes for our teachers too who, whether they realize it or not, are modeling their understanding of design in everything they produce. They are our best resources when it comes to helping students get their message across clearly.


After working with some of the students, it was great to see them work to create some great informational posters.