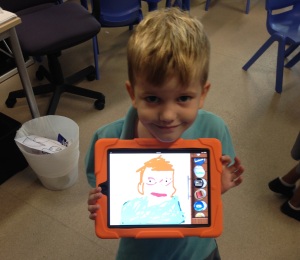
 I have been working with K1 students at school on a unit about feelings. One of the projects that we have attempted was for the students to create a self portrait of themselves using an iPad.
The K1 team decided to use an app called Drawing Pad as there are a few functions that allowed the students to create a wonderful representation of themselves. The app is $1.99 (depending on the currency of the store you are purchasing it from).
Before we opened the Drawing Pad app, I had to capture an individual image of each student, I was working with (in small groups of 3-6). I used the regular camera app to do this and found that selecting a square picture worked better than a regular picture. Once in a while I had difficulty when capturing regular sized pictures as they sometimes imported into drawing pad all stretched out. Depending on the class, I either had the students (with teacher support) capture the photo or just have the teacher capture the image.
I captured a picture of each student with the iPad that they would be using. As I was always working in small groups, this was the first thing I did with each student when they joined my group.
Then the students opened Drawing Pad and I allowed them a few minutes to explore the app to see how it works. I modelled how the students could add their picture into a new page.
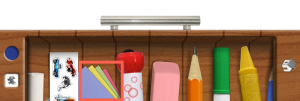
I started by helping the students locate the different paper types and then opening them.
Then the students choose the film strip option to access the images on the iPad's camera roll. They chose the portrait that has already been captured of themselves and imported it into the page.


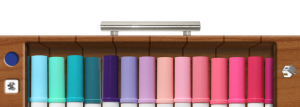
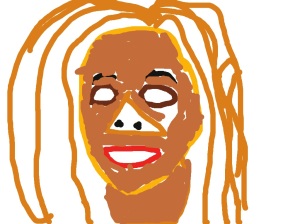
Once the image has been inserted, the students touched the home icon to go back to all their tools. I found that the marker pens did the best job for this project. I modelled the process for them and they were very excited to try it themselves. The students chose different coloured pens to trace over their picture. Some chose to stick to the colours from their image while others didn't. I didn't mind as long as they tried to represent themselves in a portrait. Once the students were done, I saved the image to the camera roll. Then came the best part - I went back to the paper types where we originally added the student's picture and chose a white paper instead of their picture. So the image behind their pen drawings disappeared. I always loved seeing the results and so did the students.


This was an easy project that yielded some fantastic results. It was accessible to all students and they enjoyed learning some iPad skills as well as

No comments:
Post a Comment